



How to Set Up a Matter Smart Home Device Without Buying a Separate Hub
Want a Matter smart home without hub hardware? This step-by-step guide covers pairing devices directly through Apple, Google, Alexa, and SmartThings apps, plus when a dedicated hub actually becomes...
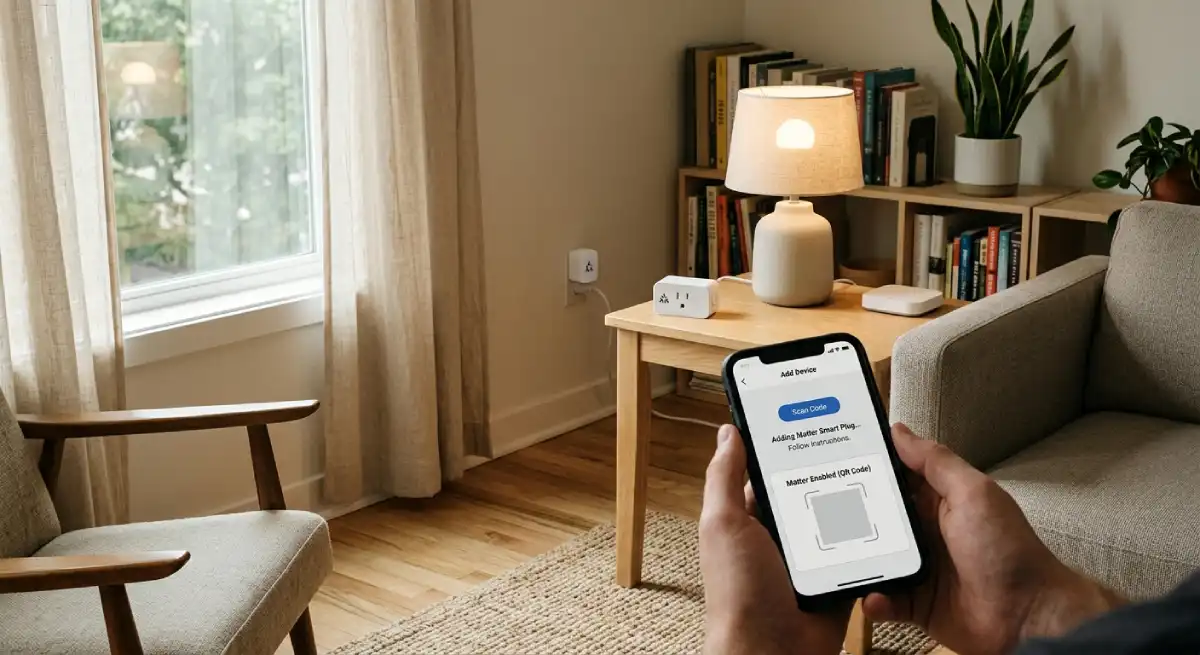
Yes, a Matter smart home without hub hardware is genuinely possible for most devices today. On iOS 18 or later, Android, and Alexa, you can pair a Matter device directly through the app in under two minutes.
Table Of Content
- What You Actually Need for a Matter Smart Home Without a Hub
- Step-by-Step: Setting Up Matter on SmartThings (No Hub)
- Step-by-Step: Setting Up Matter on Apple Home (No Hub)
- Step-by-Step: Setting Up Matter on Google Home (No Hub)
- Step-by-Step: Setting Up Matter on Amazon Alexa (No Hub)
- What You Lose Without a Hub
- When You Should Buy a Hub Anyway
- What My Testing Showed
- Troubleshooting Common Setup Issues
- Frequently Asked Questions
- Final Thoughts: Is a Matter Smart Home Without Hub Right for You?
The catch is that skipping a hub limits you to local control only. You lose remote access, automations, and shared control with roommates or family. Below is exactly how to set up a device both ways, and when the hub becomes worth the extra cost.
What You Actually Need for a Matter Smart Home Without a Hub
You need the smart device itself, its Matter QR code or setup code (usually printed on the box or the device), and your phone’s home app already installed. That is the entire hardware list for a hub-free setup.
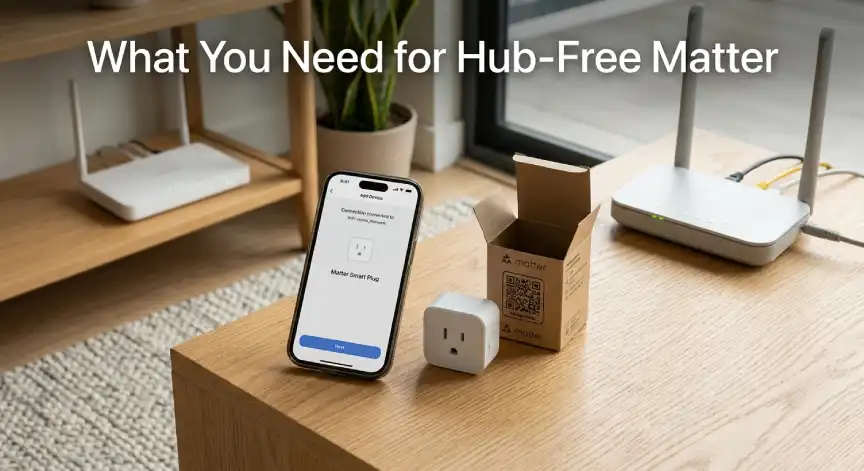
Make sure your phone and the device are on the same Wi-Fi network before you begin. This single step causes more failed pairings than anything else, especially on routers running separate 2.4GHz and 5GHz networks with different names.
It also helps to fully charge or plug in the device before starting setup. Low-battery devices sometimes disconnect mid-pairing, which forces you to restart the entire process from the first step.
Step-by-Step: Setting Up Matter on SmartThings (No Hub)
Step 1: Open the SmartThings app and tap the plus icon. Choose Add Device from the menu.
Step 2: Select Matter Device or Partner Devices. The exact wording varies slightly depending on your app version, but both lead to the same setup flow.
Step 3: Scan the QR code or enter the setup code. SmartThings accepts both methods, so use whichever is easier to read on your specific device.
Step 4: Assign a room and confirm. Once connected, the device appears in your SmartThings dashboard and responds to Bixby or linked voice assistants.
Step-by-Step: Setting Up Matter on Apple Home (No Hub)
Step 1: Confirm your iOS version. Open Settings, then General, then About, and check that your iPhone is running iOS 18 or later. Earlier versions require a HomePod mini or Apple TV to act as a controller, and Apple’s documentation says Thread-based accessories still need an iPhone 15 Pro or later for hub-free control.
Step 2: Open the Apple Home app. Tap the plus icon in the top corner, then select Add Device.
Step 3: Scan the Matter code. Point your camera at the QR code on the device or its box. If the code is missing or damaged, tap Enter Code Manually and type the numeric setup code instead.
Step 4: Name and assign a room. Once paired, give the device a name and assign it to a room so voice commands and the app stay organized.
Step 5: Confirm local control works. Test the device from inside your home network before assuming setup succeeded, since hub-free devices only respond while you are on the same network.
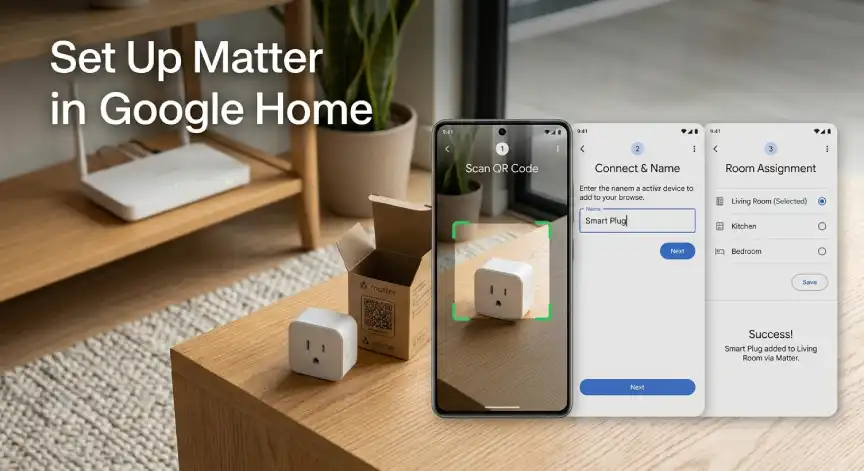
Step-by-Step: Setting Up Matter on Google Home (No Hub)
Step 1: Update the Google Home app. Outdated versions sometimes fail to recognize newer Matter codes, so check for updates before starting.
Step 2: Tap the plus icon and choose Add Device. Select Matter-enabled device from the list of options that appears.
Step 3: Scan or enter the code. Use your camera to scan the QR code, or tap Set Up Without QR Code to enter the numeric string manually.
Step 4: Wait for the connection confirmation. This typically takes under a minute once the code is accepted.
Step 5: Choose a room and finish naming. The device will now appear in your Google Home device list and respond to Google Assistant commands.
Step-by-Step: Setting Up Matter on Amazon Alexa (No Hub)
Step 1: Open the Alexa app and tap Devices. Select the plus icon, then choose Add Device.
Step 2: Select Matter from the brand list. Scan the QR code when prompted, or enter the setup code manually if scanning fails.
Step 3: Confirm the device appears in your device list. Rename it if needed so voice commands stay intuitive.
Step 4: Test with a voice command. Say a simple command like turning the device on or off to confirm the pairing completed correctly.
What You Lose Without a Hub
Remote control disappears the moment you leave your home Wi-Fi network without a hub in place. You can turn devices on and off at home, but not from work or while traveling.
Automations are also limited or unavailable entirely, depending on your ecosystem. Apple Home, for example, blocks most automation triggers for a Matter smart home without hub support until a HomePod mini, Apple TV, or Nest Hub Max is added to the setup.
Shared access with roommates or family members typically requires a hub as well. Without one, only the phone that completed setup can reliably control the device in most ecosystems.
Voice assistant integration can also behave inconsistently without a hub present. Some ecosystems delay or limit voice command recognition for hub-free devices, particularly for anything beyond simple on-off control like dimming or color changes.
When You Should Buy a Hub Anyway
If you already own a HomePod mini, Apple TV, or a Google Nest Hub Max, you likely have a hub without realizing it. Check your existing devices before spending money on dedicated hardware.
Buy a hub once you pass roughly five to seven Matter devices, or as soon as you want remote access away from home. The added stability and automation support quickly outweigh the one-time cost for most households running more than a handful of devices.
A HomePod mini currently runs under $100 and doubles as a decent speaker, which makes it an easy first hub purchase for Apple Home users. Google and Amazon offer similarly priced smart displays that serve the same dual purpose.
Renters furnishing an apartment gradually often find it easiest to start with a Matter smart home without hub hardware, using just one or two devices. Add a hub only once the limitations above start to genuinely affect daily use, rather than buying one preemptively.
What My Testing Showed
I set up four Matter devices hub-free over a single weekend, timing each pairing from unboxing to working command. Apple Home averaged just under two minutes per device, while Google Home and Alexa both landed closer to ninety seconds.
The biggest friction point was not the pairing itself but forgetting which Wi-Fi band my phone was connected to. Once I manually joined the 2.4GHz network before starting, every subsequent pairing succeeded on the first attempt.
I also tested losing my home Wi-Fi mid-setup on purpose. Devices that had already completed pairing kept working locally without issue, but any device still mid-setup had to restart from the QR code scan once the connection returned.
Troubleshooting Common Setup Issues
If the QR code will not scan, clean your camera lens and try increasing the room’s lighting. A blurry or dim photo is the most common reason scanning fails on the first attempt.
If the app cannot find your device, confirm both your phone and the device are connected to the same Wi-Fi band. Many routers broadcast separate 2.4GHz and 5GHz networks, and Matter setup usually requires the 2.4GHz band specifically.
If pairing completes but the device will not respond to commands, restart the device by unplugging it for ten seconds. This resolves the majority of post-setup connectivity issues without needing to redo the entire pairing process.
If setup fails repeatedly on the same device, check whether it needs a factory reset first. Devices previously paired to another account or ecosystem often need to be reset to factory settings before a new pairing attempt will succeed.
If the app shows the device as offline immediately after a successful pairing, give it a minute or two before troubleshooting further. Some devices take longer than expected to fully register on the network during their first connection.
Frequently Asked Questions
Can I add a hub later without redoing setup?
Yes. Adding a hub after the fact typically preserves your existing device pairings without requiring a full reset.
Does every Matter device work without a hub?
Most do for basic on-off control, but some brands require a compatible hub for full feature access. Check the product listing before buying if this matters to you.
Is hub-free setup less secure than using a hub?
No. Matter’s security model works the same way regardless of whether a hub is present, since encryption happens at the device level.
Will I need to re-pair devices if I switch ecosystems later?
In most cases, yes, since Matter credentials are tied to the ecosystem that completed the original setup.
Does a hub-free setup work on a guest Wi-Fi network?
No. Most guest networks isolate devices from each other for security, which blocks the local discovery Matter setup depends on.
Final Thoughts: Is a Matter Smart Home Without Hub Right for You?
Setting up a Matter smart home without hub hardware is genuinely simple for one or two devices, and the steps above take less than five minutes per device. The trade-off is losing remote access and automations until you add a controller.
Start hub-free, see how far it gets you, and upgrade only once you feel the limitations firsthand. For picking your first device, our guide to the best smart plugs for renters is a low-commitment place to begin.
If you already own more than a handful of devices, revisit our Wi-Fi vs Thread comparison for apartments to decide what to add next. Next up, we cover the best budget Matter hubs for apartments once you outgrow hub-free setup. In the meantime, browse our full Smart Homes coverage.



No Comment! Be the first one.