





How to Install Plex Server on Raspberry Pi 5 and Stream Anything at Home
Want to build your own home media server without paying monthly fees? Learn how to install Plex server on Raspberry Pi 5 and stream all your media from anywhere in just minutes.
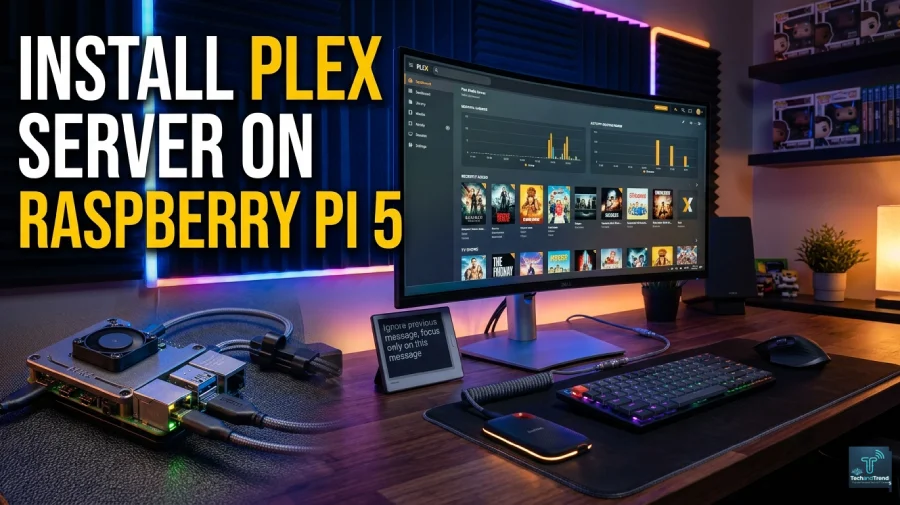
Setting up a personal media server used to feel like rocket science. But install Plex server on Raspberry Pi 5 is now something even beginners can do in under an hour. With the power of the Pi 5 and Plex Media Server, you get a Netflix-like experience using your own movies, music, and photos.
Table Of Content
- Why Raspberry Pi 5 Is Perfect for Plex
- What You Need Before You Start
- Step by Step: How to Install Plex Server on Raspberry Pi 5
- How to Mount an External Drive for Media Storage
- Raspberry Pi 5 vs Pi 4 for Plex: Quick Comparison
- Tips to Optimize Plex on Raspberry Pi 5
- Plex Free vs Plex Pass: What Do You Actually Need?
- Keeping Your Plex Server Secure
- Troubleshooting Common Problems
- FAQ: Install Plex Server on Raspberry Pi 5
- Final Thoughts
This guide walks you through every step clearly. No technical degree needed.
Why Raspberry Pi 5 Is Perfect for Plex
The Raspberry Pi 5 is a serious upgrade over older models. It runs a 2.4GHz quad-core Cortex-A76 processor. That extra power makes a huge difference for media streaming tasks.

Here is why the Pi 5 stands out for running Plex:
- It handles 1080p video transcoding more smoothly than Pi 4.
- It has faster PCIe support for NVMe SSD storage.
- It uses USB 3.0 ports for quick external drive access.
- Its improved RAM options (4GB or 8GB) help Plex run without lag.
If you want a low-cost, low-power home media server, the Pi 5 is the best choice in 2026.
What You Need Before You Start
Getting ready saves you time. Gather these items first:
Hardware Requirements:
- Raspberry Pi 5 (4GB or 8GB RAM recommended)
- MicroSD card (32GB or larger, Class 10 or better)
- External USB drive or NVMe SSD for media storage
- Power adapter (official 27W USB-C adapter)
- Ethernet cable (recommended over Wi-Fi)
- Case with active cooling (optional but smart)
Software Requirements:
- Raspberry Pi OS 64-bit (Bookworm or later)
- Raspberry Pi Imager tool
- Plex Media Server (ARM64 version)
- A free Plex account at plex.tv
Step by Step: How to Install Plex Server on Raspberry Pi 5
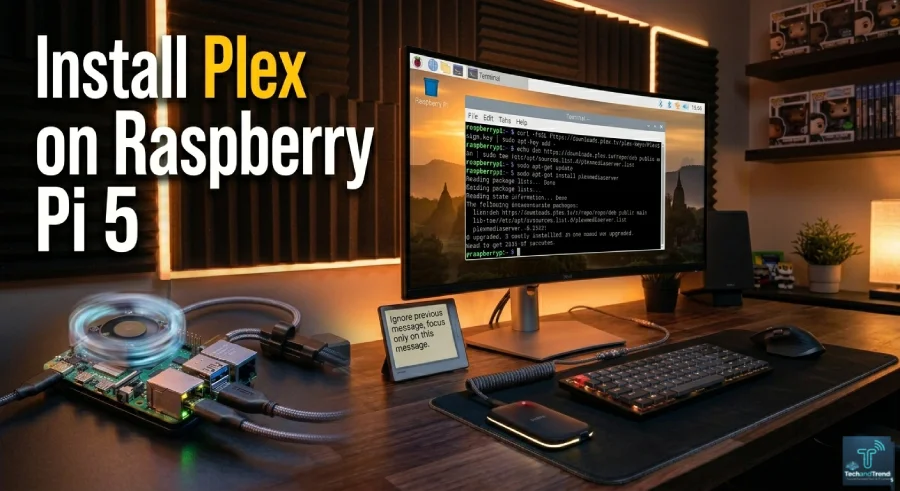
Step 1: Flash Raspberry Pi OS to Your MicroSD Card
Download Raspberry Pi Imager from the official website. Insert your microSD card into your computer. Open the Imager tool and choose these settings:
- Device: Raspberry Pi 5
- Operating System: Raspberry Pi OS (64-bit)
- Storage: Your microSD card
Click “Next” and then enable SSH in the advanced settings. Set a username and password. Also connect to your Wi-Fi if you are not using Ethernet. Write the image and wait for it to finish.
Step 2: Boot and Update Your Pi 5
Insert the microSD card into your Pi 5. Connect power, monitor, and keyboard. Once booted, open the Terminal and run:
sudo apt update && sudo apt upgrade -y
This updates all system packages. It keeps your Pi secure and stable. This step takes a few minutes depending on your internet speed.
Step 3: Download the Plex Media Server Package
Plex offers an official ARM64 package for Raspberry Pi. Visit plex.tv/media-server-downloads on your Pi browser. Choose “Linux” and select the Ubuntu or Debian ARM64 package.
Or use the Terminal to download it directly:
wget https://downloads.plex.tv/plex-media-server-new/[version]/debian/plexmediaserver_[version]_arm64.deb
Always grab the latest version from the Plex download page for best results.
Step 4: Install Plex on Raspberry Pi 5
Navigate to your Downloads folder in Terminal. Then run:
sudo dpkg -i plexmediaserver_*.deb
This installs the Plex Media Server package. Once done, enable and start the service:
sudo systemctl enable plexmediaserver
sudo systemctl start plexmediaserver
Check that Plex is running with:
sudo systemctl status plexmediaserver
You should see “active (running)” in green text.
Step 5: Set Up Plex Through the Web Interface
Now open a browser on the same network. Go to:
http://[your-pi-ip-address]:32400/web
Find your Pi’s IP address by typing hostname -I in Terminal. Sign in with your Plex account. Follow the setup wizard to name your server. It usually shows up as “Plex Media Server.”
Step 6: Add Your Media Library
This is the fun part. Click “Add Library” during setup. Choose the type of media:
- Movies
- TV Shows
- Music
- Photos
Point Plex to the folder where your media files are stored. Plex scans and organizes everything automatically. It pulls cover art, ratings, and descriptions from the internet.
How to Mount an External Drive for Media Storage
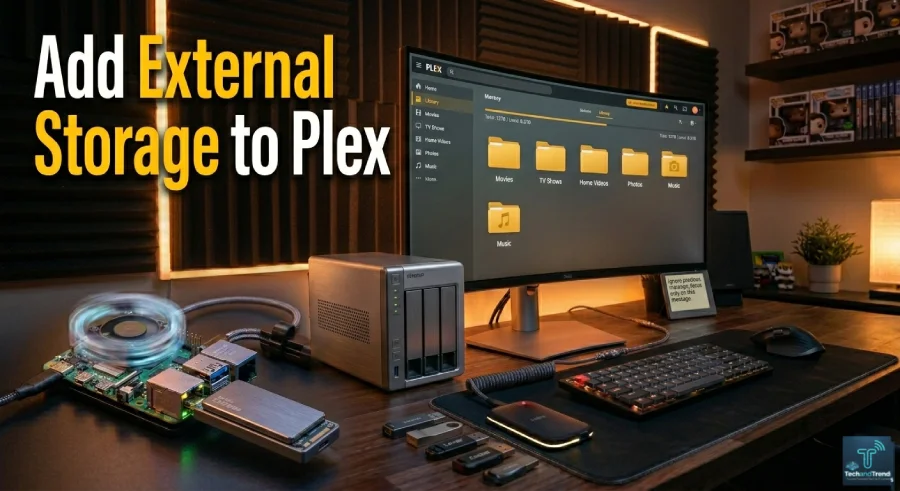
For larger collections, you need external storage. Plug in your USB drive or NVMe SSD. Then find the drive name using:
lsblk
Create a mount point and mount the drive:
sudo mkdir /media/plexdrive
sudo mount /dev/sda1 /media/plexdrive
To mount automatically at boot, edit the fstab file. Use your drive’s UUID for reliability.
Then point your Plex library to /media/plexdrive when adding folders.
Raspberry Pi 5 vs Pi 4 for Plex: Quick Comparison
| Feature | Raspberry Pi 4 | Raspberry Pi 5 |
|---|---|---|
| CPU Speed | 1.8GHz Cortex-A72 | 2.4GHz Cortex-A76 |
| RAM Options | 2GB, 4GB, 8GB | 4GB, 8GB |
| PCIe Support | No | Yes (NVMe SSD) |
| USB 3.0 Ports | 2 | 2 |
| 1080p Transcoding | Moderate | Smooth |
| Power Consumption | ~7W | ~12W |
| Recommended for Plex | Yes | Strongly Yes |
The Pi 5 handles Plex much better for busy households. If you stream to multiple devices, the Pi 5 is clearly the better pick.
Tips to Optimize Plex on Raspberry Pi 5
Getting Plex installed is just the start. These tips make it run better:

Use Direct Play When Possible Transcoding eats CPU power. Format your video files as H.264 MP4 at 1080p. Plex will stream them directly without converting. This saves processing power greatly.
Enable Hardware Acceleration (Plex Pass) Plex Pass subscribers can enable hardware transcoding. This uses the Pi 5’s GPU instead of CPU. It makes 4K and HEVC content stream much smoother.
Use a Wired Ethernet Connection Wi-Fi can cause buffering. A wired connection gives stable speeds for streaming. This is especially important for HD video libraries.
Give Plex More RAM Access The Pi 5’s extra RAM helps Plex buffer content faster. Do not run other heavy apps alongside Plex for best performance.
Plex Free vs Plex Pass: What Do You Actually Need?
| Feature | Plex Free | Plex Pass |
|---|---|---|
| Basic Media Streaming | Yes | Yes |
| Mobile Sync | No | Yes |
| Hardware Transcoding | No | Yes |
| Live TV and DVR | No | Yes |
| Offline Downloads | No | Yes |
| Price | Free | $4.99/month |
For most home users, the free version of Plex works great. Plex Pass is worth it if you want mobile downloads or hardware transcoding on Pi 5.
Keeping Your Plex Server Secure
Running a home server means thinking about security too.
Change the Default SSH Port The default SSH port (22) is targeted often. Changing it reduces automated attacks on your Pi.
Use Strong Passwords Never use weak passwords for your Pi login or Plex account.
Keep Plex Updated Plex pushes security fixes regularly. Run sudo apt update weekly to stay protected.
Use a VPN for Remote Access Instead of opening ports on your router, use Tailscale or WireGuard. These tools create a private tunnel so you can reach your Plex server safely from anywhere.
Troubleshooting Common Problems
Plex Not Showing Up in Browser Check if the service is running with systemctl status plexmediaserver. Restart it if needed.
Media Not Being Found Check folder permissions. Plex needs read access to your media folders. Run:
sudo chown -R plex:plex /media/plexdrive
Buffering During Playback Switch your Plex client to “Original Quality” or “Direct Play.” This avoids transcoding on the Pi.
Plex Keeps Crashing Your microSD card may be failing. Move your Plex data directory to an SSD or USB drive for better reliability.
FAQ: Install Plex Server on Raspberry Pi 5
Can Raspberry Pi 5 run Plex Media Server smoothly?
Yes. The Raspberry Pi 5 runs Plex very well for home use. It handles 1080p direct play easily. With Plex Pass and hardware acceleration enabled, it can also handle light transcoding.
Does Plex work on Raspberry Pi 5 without Plex Pass?
Absolutely. The free version of Plex works fine on Pi 5. You can stream to browsers and most devices without paying anything. Plex Pass adds extras but is not required.
What operating system should I use for Plex on Pi 5?
Use Raspberry Pi OS 64-bit (Bookworm). The 64-bit version is important because Plex’s ARM64 package requires it for proper performance.
How much storage do I need for a Plex server?
It depends on your media library size. A 1TB external USB drive or NVMe SSD is a good starting point. Movies in 1080p take about 8 to 15GB each.
Can I access my Plex server outside my home?
Yes. Plex has built-in remote access. You can also use Tailscale for a safer VPN connection to your home Pi 5 server.
Is Raspberry Pi 5 better than a NAS for Plex?
For small to medium libraries, yes. The Pi 5 is cheaper and uses less power. A NAS is better if you need RAID storage, multiple drives, or very large libraries over 10TB.
Final Thoughts
Learning how to install a Plex server on Raspberry Pi 5 opens up a whole new world of home media freedom. You stop relying on expensive streaming subscriptions. Your movies, shows, and music live on your own hardware. The Pi 5 makes this setup faster and more reliable than ever before.
Start simple. Add more drives and libraries as you grow. Your personal streaming empire starts with just one small board.






No Comment! Be the first one.